Instant
HackTheBox Machine Writeup
The Instant machine on Hack The Box is an intermediate-level challenge that combines web application exploitation and privilege escalation. The goal is to identify a file upload vulnerability to gain initial access, and then escalate privileges to root. In this blog, I'll walk you through the steps I took to solve the machine, from reconnaissance to capturing the root flag.

Step 1: Let's add it to hosts and scan
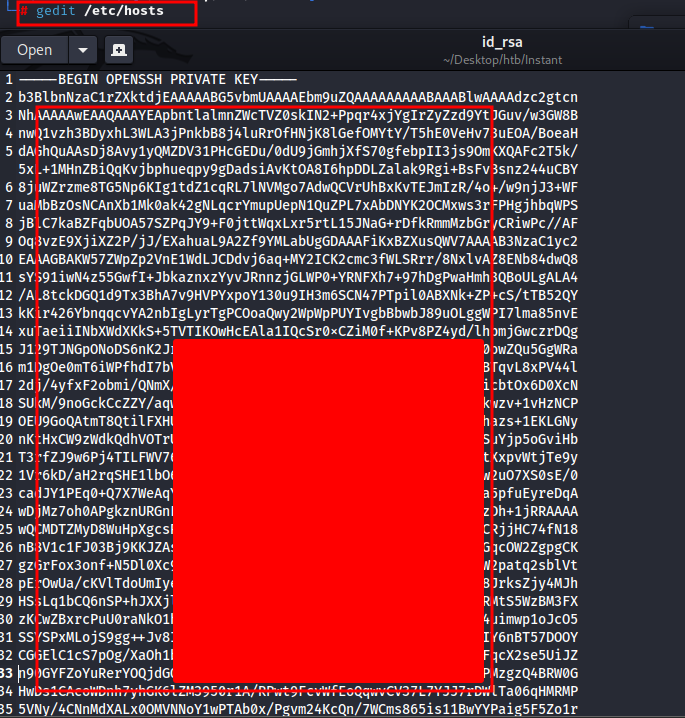
As part of my standard procedure the first step is always reconnaissance, I have added the host instant.htb to the /etc/hosts file for easier access,
gedit /etc/hosts
and I ran an nmap scan to discover the open ports and services running on the target machine
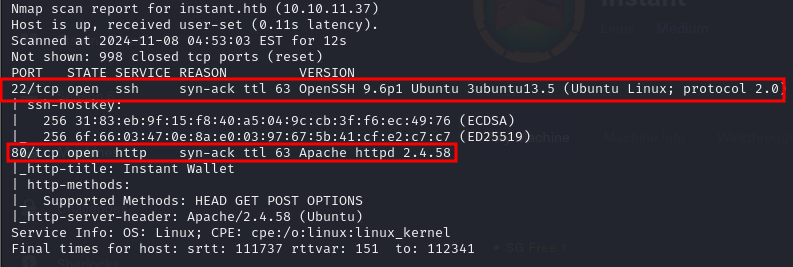
Step 2: Exploring Port 80
Port 80 was open, indicating a web service was running. I then performed a more detailed scan using tools like nikto to check for known vulnerabilities in the web server, but nothing immediately stood out.
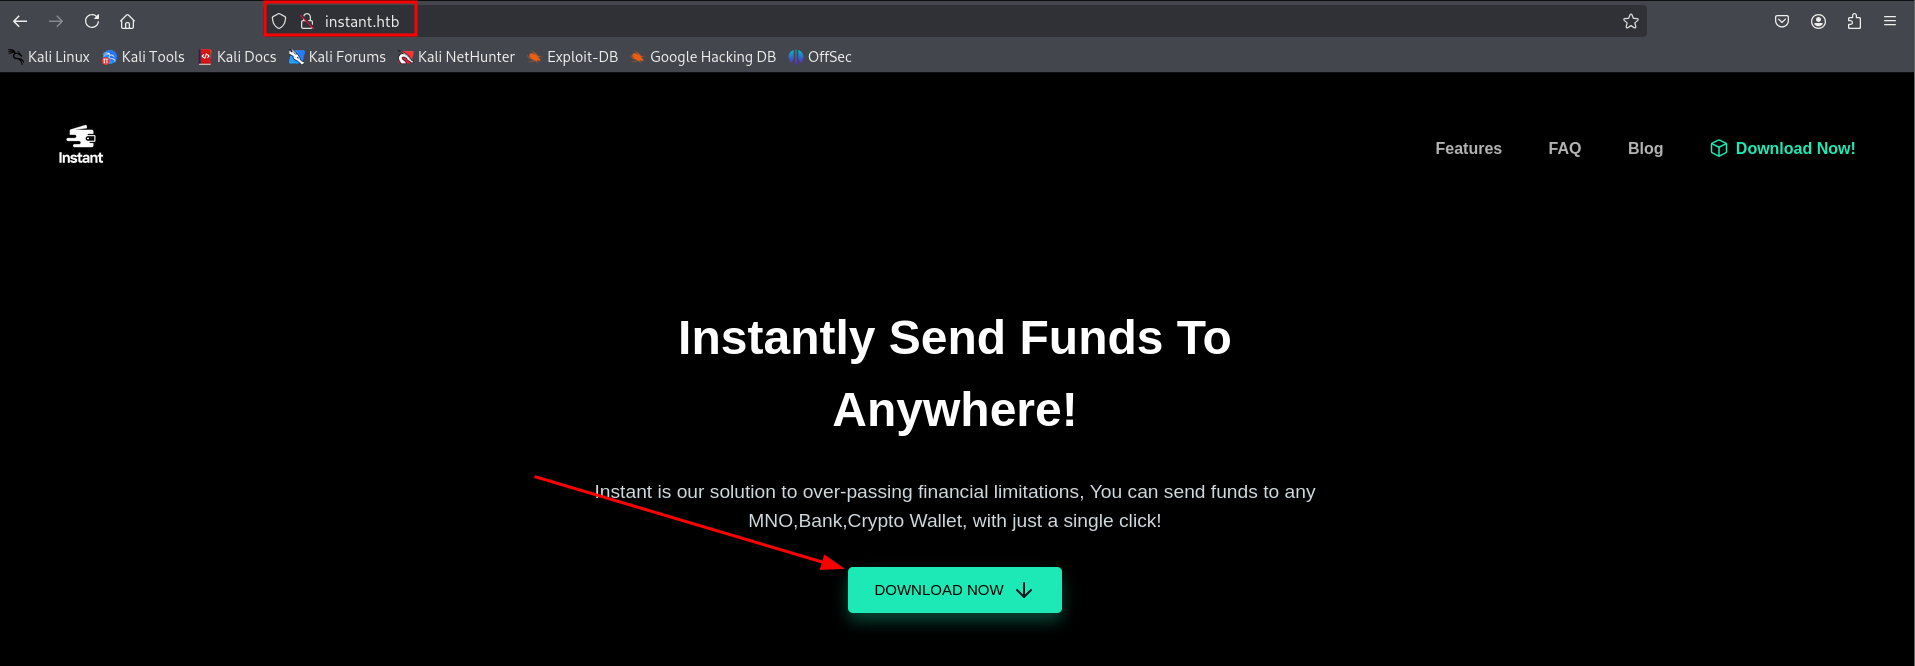
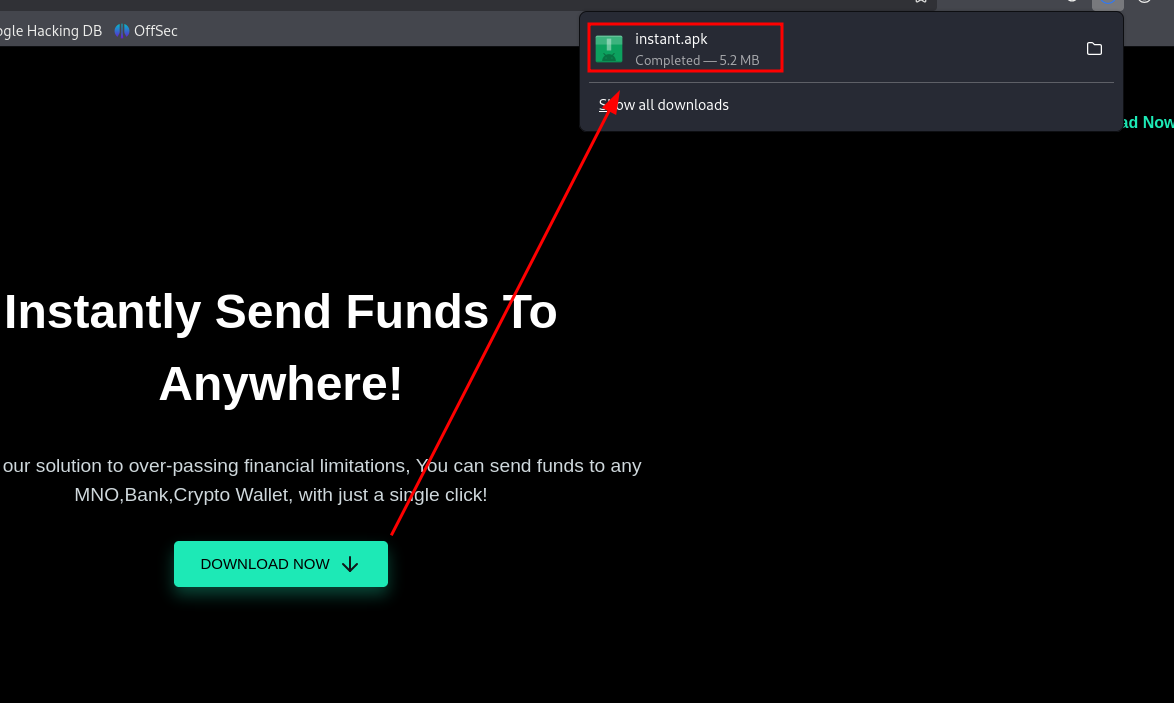
Step 3: APK downloaded
APK was downloaded from the website to check any hardcoded strings or secrets
Step 4: Let's debug this APK
After downloading the APK file, I began by enumerating its contents to gather as much information as possible. I first tried debugging the APK to observe its behavior and identify any interesting interactions, such as API calls or authentication mechanisms. This helped me understand the flow of the application and identify areas where vulnerabilities might exist.
Next, I performed reverse engineering of the APK using various tools to decompile the APK and inspect the underlying code. This step allowed me to analyze the app's source code, look for hardcoded credentials, insecure communication, or other potential security flaws. Tools like JADX, APKTool can help in extracting and modifying the APK's resources and code, making it easier to spot weaknesses that could be exploited.
By combining both debugging and reverse engineering techniques, I was able to identify that there was URL followed by hardcoded Token


Step 5: Analyzing APK files
While researching information about tokens, I came across something interesting: SWAGGER-UI.
Next, I configured Swagger UI to be accessible by assigning it to the machine's IP address. To do this, I added an entry in the /etc/hosts file on my local machine, mapping the IP address of the target machine (in this case, 10.10.11.10) to the hostname swagger-ui.instant.htb. I ran the following command:
sudo echo "10.10.11.10 swagger-ui.instant.htb" | sudo tee -a /etc/hosts

Step 6: lets authorize with bearer token using json
Next, I used a curl command with the GET method to make requests to the Swagger UI API. I crafted specific URLs, such as /logs and /admin, and used the wfuzzz tool to generate the necessary authorization token. I then included this token in the Authorization header for the API request.
Additionally, I added the header -H "Accept: application/json" to ensure the server returned the response in JSON format. Where token was the authorization token I had extracted from the reverse engineering of the APK earlier. This step allowed me to access sensitive API endpoints and explore potential vulnerabilities.
This allowed me to interact with the API endpoints more effectively. Here's what the command looked like:
curl -X GET "http://swagger-ui.instant.htb/logs" -H "Accept: application/json" -H "Authorization: Bearer token"

Step 7: Private key in form of id_rsa
Using the method outlined above with the curl command and the Authorization token, I was able to interact with the API and access sensitive endpoints. While exploring the response data, I discovered a private key in the form of an id_rsa key. This key was returned as part of the data in JSON format, and I retrieved it after specifying the correct headers (Accept: application/json and Authorization: Bearer token).
The private key I obtained—id_rsa—could potentially be used for SSH authentication or other sensitive operations, depending on the context of the application. This discovery opened up further avenues for exploitation, as I could now attempt to use the private key to authenticate to the server.
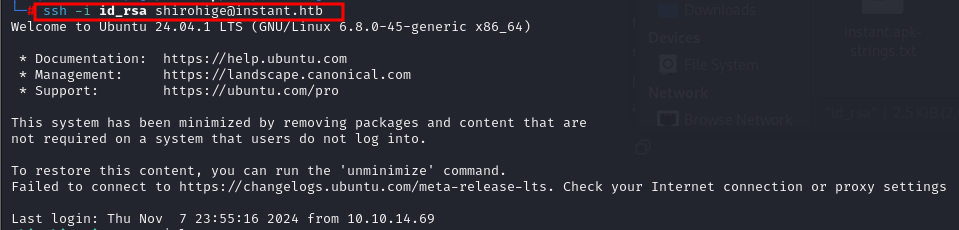
Step 8: accessing user shirohige with id_rsa
After obtaining the id_rsa private key, I tried to use it to log in to the target machine. During earlier enumeration, I had discovered the user shirohige on the machine, so I attempted to SSH into the system using the private key with the following command:
ssh -i id_rsa shirohige@instant.htb
This command attempts to log in as the shirohige user on the target machine, using the private key (id_rsa) for authentication. If successful, this would grant me access to the machine as that user.
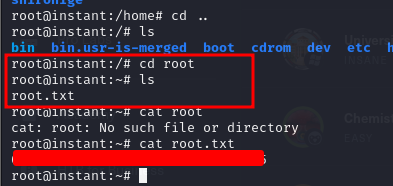
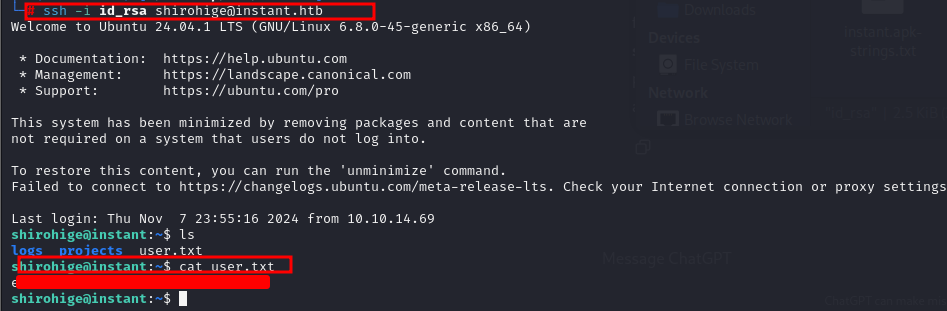
Step 9: user.txt flag obtained
After successfully logging in as the shirohige user using the id_rsa private key, I gained access to the user's home directory. Inside, I found the user.txt flag, which is typically used to signify that you’ve successfully compromised the user account on the machine.
Privilege Escalation
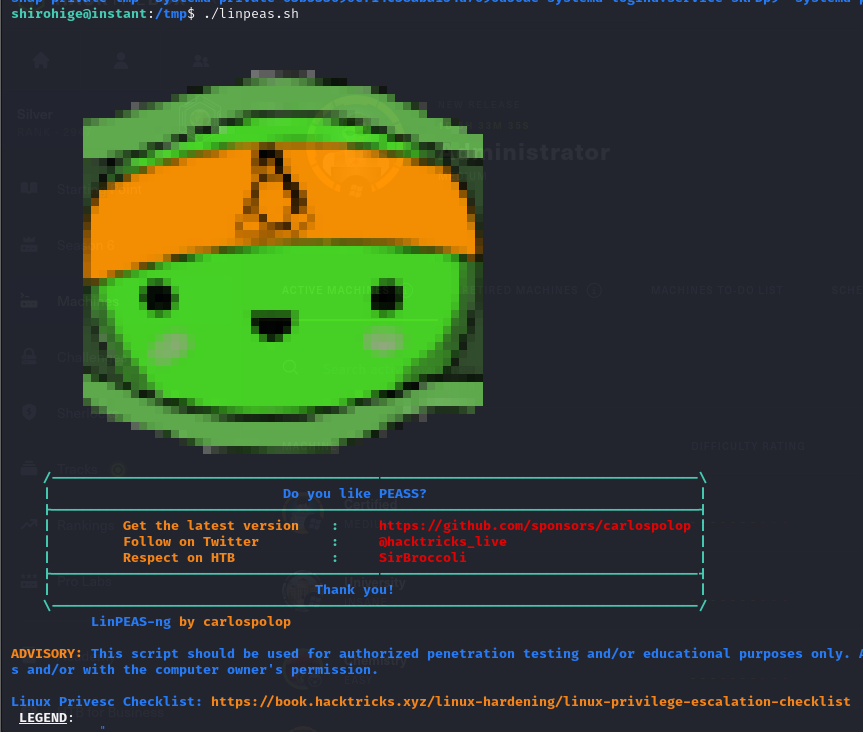
Step 10: privilege escalation using tool linepeas
I used linpeas to enumerate potential privilege escalation opportunities. This revealed that the web server user had sudo access to certain commands without a password prompt. I leveraged this misconfiguration to run commands as root and escalate my privileges.
Next, I started a Python 3 HTTP server on my local machine to host the linpeas.sh script that I had downloaded. This would allow me to transfer the script to the target machine. I used the following command to start the server:
Python3 -m http.server 80

Step 11: wget linepeas on target machine
With the server running, I used wget on the target machine to download the linpeas.sh script.
This allowed me to retrieve the script from my local server. The linpeas.sh script is a popular privilege escalation tool that scans for potential misconfigurations and vulnerabilities on the target system.

Step 12: Let's run the linpeas
After successfully downloading the linpeas.sh script using wget, I made the script executable and ran it on the target machine to search for potential privilege escalation vectors. First, I changed the permissions of the script to make it executable:
chmod +x linpeas.sh
Then, I ran the script with the following command:
./linpeas.sh
Step 13: getting some juicy stuff sensitive information and sudoing to user
After running the linpeas.sh script, I found a password that was stored on the system. However, the password was encrypted, so I needed to decrypt it in order to use it for further exploitation.
To decrypt the password, I followed the necessary steps based on the method or encryption type that linpeas.sh flagged.
After successfully decrypting the password, I used it to authenticate and gain access to a shell.

Step 14: root flag
And finally getting root.txt.